
はじめに
前回までは、SPADE, PaDiM, PatchCore について説明しました。

今回は、最新であり、高精度かつ位置検出も可能な FastFlow についてデモを試していきます。
前提条件
前提条件は以下の通りです。
- python3.9
- pytorch == 1.12.1+cu113
- pytorch-ignite == 0.2.0
- MVTec-AD に会員登録してある (データセットの準備に必要)
下記コマンドで、FrEIA を pip install します。
python -m pip install FrEIA@git+https://github.com/VLL-HD/FrEIA@1779d1fba1e21000fda1927b59eeac0a6fcaa284データセットの準備
まず始めに、FastFlow を git でダウンロードします。
git のページはこちらです。
mkdir FastFlow-dev
cd FastFlow-dev
git clone https://github.com/gathierry/FastFlow.git
デモを試すにあたって、データセットを準備していきます。
MVTec-AD のページはこちらです。
全部ダウンロードすると重いので、 bottle, cable のみダウンロードします。
ダウンロードしたら、FastFlow フォルダ内に以下のように配置します。
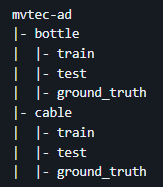
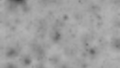
bottle と cable の一例を掲載します。

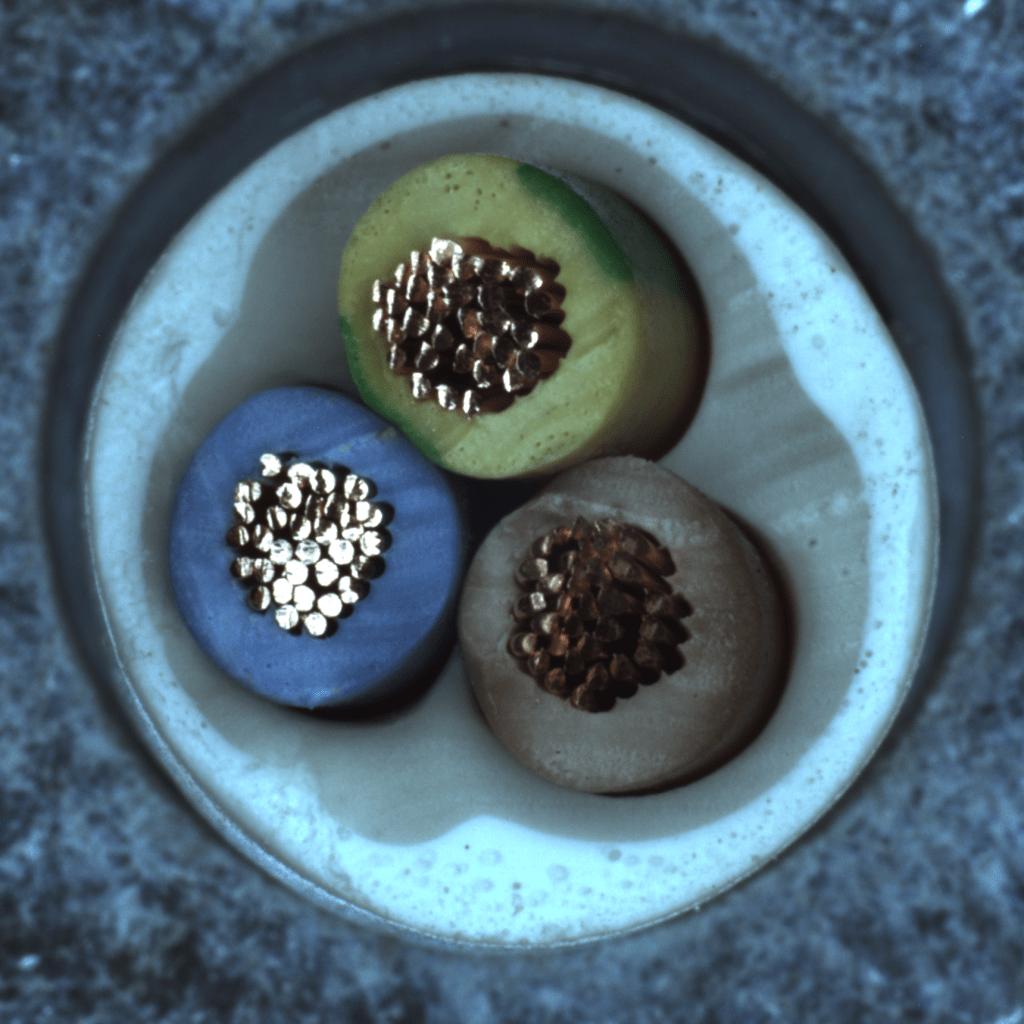
cable はかなり複雑そうな印象です。
bottle の学習と結果確認
まずは、bottle について、学習していきます。
cd FastFlow
python main.py -cfg configs/resnet18.yaml --data ./mvtec-ad -cat bottle
バックボーンは resnet18, wide-resnet-50 がありますが、今回は resnet18 を使用します。
上記コマンドを実行すると、以下のような結果が出力されます。
Model A.D. Param#: 5574912
Epoch 1 - Step 6: loss = 89249.945(152388.694)
Epoch 2 - Step 6: loss = -37762.820(13337.727)
Epoch 3 - Step 6: loss = -137952.047(-99540.391)
Epoch 4 - Step 6: loss = -203139.891(-176534.367)
Epoch 5 - Step 6: loss = -238089.500(-234274.370)
Epoch 6 - Step 6: loss = -287386.812(-265264.130)
Epoch 7 - Step 6: loss = -341697.562(-318932.260)
Epoch 8 - Step 6: loss = -384694.844(-367770.688)
Epoch 9 - Step 6: loss = -416996.531(-398341.005)
Epoch 10 - Step 6: loss = -445393.688(-437013.911)
AUROC: 0.9757971424733269
Epoch 11 - Step 6: loss = -462705.562(-454449.625)
Epoch 12 - Step 6: loss = -500546.625(-490044.609)
Epoch 13 - Step 6: loss = -535708.062(-518519.208)
Epoch 14 - Step 6: loss = -525321.125(-536286.125)
Epoch 15 - Step 6: loss = -564474.375(-552970.604)
Epoch 16 - Step 6: loss = -589126.812(-579022.219)
Epoch 17 - Step 6: loss = -605088.375(-601773.219)
Epoch 18 - Step 6: loss = -616272.812(-604209.323)
Epoch 19 - Step 6: loss = -598265.625(-620509.188)
Epoch 20 - Step 6: loss = -637072.938(-614997.927)
AUROC: 0.9755343087204891
10epoch で AUROC が 0.97 程度まで上昇します。これ以降続けても大きく上昇はしません。
Windowsの場合
Windows の場合はエラーが出ます。
その場合、dataset.py の 42行目付近を以下のように変更してください。
target = Image.open(
    image_file.replace("/test/", "/ground_truth/").replace(
    ".png", "_mask.png"
    )
)
↓
target = Image.open(
    image_file.replace("test", "ground_truth").replace(
    ".png", "_mask.png"
    )
)
結果確認
結果確認は以下のコマンドで実行します。
python main.py -cfg configs/resnet18.yaml --data ./mvtec-ad -cat bottle --eval -ckpt _fastflow_experiment_checkpoints/exp1/9.pt結果は以下のようになります。
Model A.D. Param#: 5574912
AUROC: 0.9757971424733269
cable の学習と結果確認
次に、cable について学習していきます。
cd FastFlow
python main.py -cfg configs/resnet18.yaml --data ./mvtec-ad -cat cable
以下のような結果が出力されます。
Model A.D. Param#: 5574912
Epoch 1 - Step 7: loss = 122076.812(171060.377)
Epoch 2 - Step 7: loss = 41230.852(73232.054)
Epoch 3 - Step 7: loss = -21444.639(4057.698)
Epoch 4 - Step 7: loss = -70478.383(-50868.967)
Epoch 5 - Step 7: loss = -121073.078(-100378.506)
Epoch 6 - Step 7: loss = -158777.812(-137756.076)
Epoch 7 - Step 7: loss = -195107.672(-177773.527)
Epoch 8 - Step 7: loss = -220969.578(-208397.670)
Epoch 9 - Step 7: loss = -249262.062(-238449.540)
Epoch 10 - Step 7: loss = -271916.875(-262681.185)
AUROC: 0.954951829315373
Epoch 11 - Step 7: loss = -294207.875(-284313.496)
Epoch 12 - Step 7: loss = -307351.281(-303222.969)
Epoch 13 - Step 7: loss = -324064.219(-315675.683)
Epoch 14 - Step 7: loss = -338611.188(-331553.286)
Epoch 15 - Step 7: loss = -352611.938(-347299.223)
Epoch 16 - Step 7: loss = -365233.625(-360770.210)
Epoch 17 - Step 7: loss = -376647.281(-371820.192)
Epoch 18 - Step 7: loss = -383285.938(-382558.121)
Epoch 19 - Step 7: loss = -384286.219(-384137.750)
Epoch 20 - Step 7: loss = -402095.781(-395931.116)
AUROC: 0.966436295834251
30epoch まで続けると、0.968 程度まで上昇します。
結果確認
python main.py -cfg configs/resnet18.yaml --data ./mvtec-ad -cat cable --eval -ckpt _fastflow_experiment_checkpoints/exp2/29.pt上記を実行すると、以下の結果が出力されます。
Model A.D. Param#: 5574912
AUROC: 0.9686505361579625
おわりに
今回は教師なし異常検知で不良位置も推定できる FastFlow について紹介しました。
次回は FastFlow の検出結果を画像で確認する方法や、カスタムデータセットで訓練する方法について説明します。


コメント