
はじめに
前回は Mask3D のデモの動かし方について説明しました。

今回は Mask3D をカスタムデータで学習させるための s3dis形式のデータセットの作成方法について説明します。
前提条件
前提条件は以下の通りです。
- Windows11
- Realsense
- Python3.10
- CloudCompare
RealSense で点群データを撮影・保存を実行
まずは、必要なライブラリをインストールしていきます。
pip install pyrealsense2 numpy opencv-python open3drealsense_capture.py
import pyrealsense2 as rs
import numpy as np
import cv2
import open3d as o3d
import datetime

# Configure depth and color streams
pipeline = rs.pipeline()
config = rs.config()
config.enable_stream(rs.stream.depth, 640, 480, rs.format.z16, 30)
config.enable_stream(rs.stream.color, 640, 480, rs.format.bgr8, 30)

# Start streaming
pipeline.start(config)
align = rs.align(rs.stream.color)

vis = o3d.pybind.visualization.Visualizer()
vis.create_window('PCD', width=640, height=480)
pointcloud = o3d.pybind.geometry.PointCloud()
geom_added = False
number = 1

while True:
    dt0 = datetime.datetime.now()
    frames = pipeline.wait_for_frames()
    frames = align.process(frames)
    profile = frames.get_profile()
    depth_frame = frames.get_depth_frame()
    color_frame = frames.get_color_frame()
    if not depth_frame or not color_frame:
        continue

    # Convert images to numpy arrays
    depth_image = np.asanyarray(depth_frame.get_data())
    color_image = np.asanyarray(color_frame.get_data())
    o3d_color_image = cv2.cvtColor(color_image, cv2.COLOR_BGR2RGB)

    img_depth = o3d.geometry.Image(depth_image)
    img_color = o3d.geometry.Image(o3d_color_image)
    rgbd = o3d.geometry.RGBDImage.create_from_color_and_depth(img_color, img_depth, convert_rgb_to_intensity=False)

    intrinsics = profile.as_video_stream_profile().get_intrinsics()

    pinhole_camera_intrinsic = o3d.camera.PinholeCameraIntrinsic(intrinsics.width, intrinsics.height, intrinsics.fx, intrinsics.fy, intrinsics.ppx, intrinsics.ppy)
    pcd = o3d.pybind.geometry.PointCloud.create_from_rgbd_image(rgbd, pinhole_camera_intrinsic)

    pcd.transform([[1, 0, 0, 0], [0, -1, 0, 0], [0, 0, -1, 0], [0, 0, 0, 1]])
    voxel_down_pcd = pcd.voxel_down_sample(voxel_size=0.005)
    alpha = 0.015
    # mesh = o3d.pybind.geometry.TriangleMesh.create_from_point_cloud_alpha_shape(voxel_down_pcd, alpha)
    # mesh.compute_vertex_normals()

    pointcloud.points = pcd.points
    pointcloud.colors = pcd.colors

    if geom_added == False:
        vis.add_geometry(pointcloud)
        geom_added = True
    vis.update_geometry(pointcloud)
    vis.poll_events()
    vis.update_renderer()

    cv2.imshow('bgr', color_image)
    key = cv2.waitKey(1)
    if key == ord('q'):
        break
    elif key == ord("c"):
        # o3d.io.write_triangle_mesh("./capture/capture-"+str(number)+".ply", mesh)
        o3d.io.write_point_cloud("./capture/pcd-"+str(number)+".ply", pcd)
        number += 1

    process_time = datetime.datetime.now() - dt0
    print("FPS: " + str(1 / process_time.total_seconds()))

pipeline.stop()
cv2.destroyAllWindows()
vis.destroy_window()
del vis
上記を実行した状態で、cを押すとキャプチャされます。
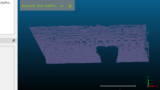
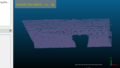
今回キャプチャした点群を、CloudCompareで確認します。
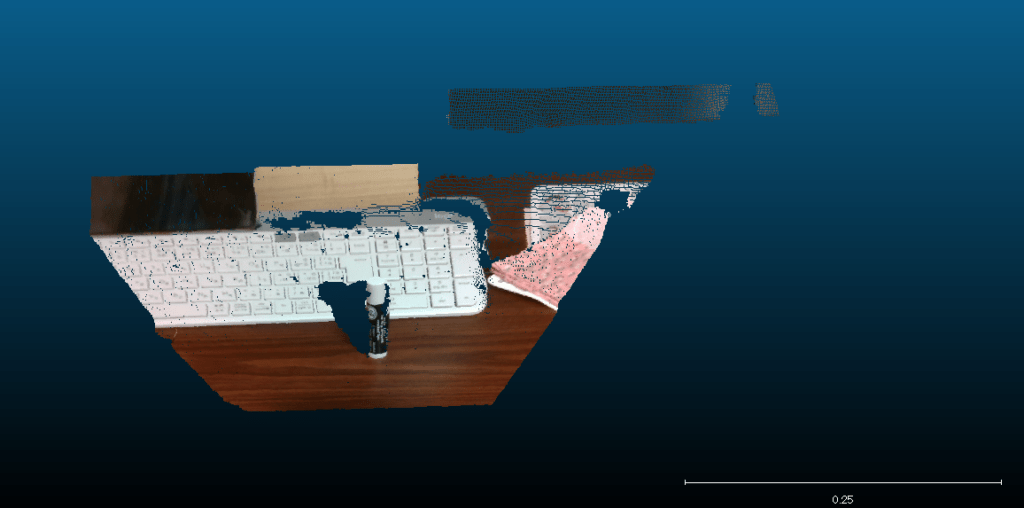
ここから、検出したい点群を抽出していきます。
今回は
- リップ
- キーボード
- その他
で点群を抽出していきます。
CloudCompareの使い方はこちらの記事で説明しています。
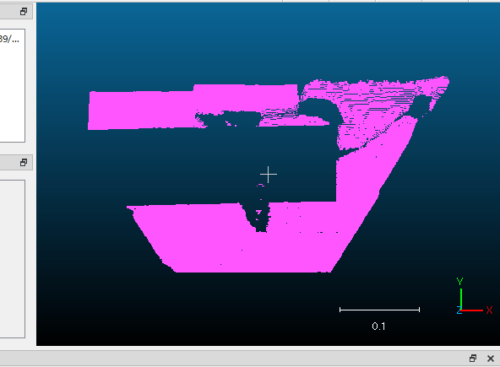
また、切り出した点群に色を付けるのは Edit → Colors → Set Unique で色付けできます。
点群はすべて ASCii 形式で保存してください。
キーボードの点群
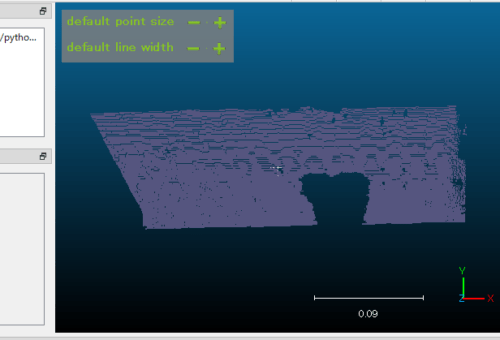
リップの点群
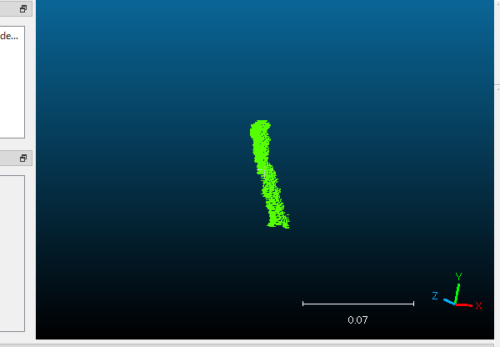
その他
おわりに
今回は、点群データのアノテーションまでについて説明しました。
点群データのアノテーションは三次元的に切り出しを実行する必要があるので、かなり時間がかかりますね。
次回は、作成したアノテーションデータから、s3disデータセット形式へ変換する方法について説明します。

コメント