はじめに
前回は超解像AI Real-ESRGAN を引数を使用して簡単にテストしました。
今回は、Real-ESRGAN をオブジェクト化して USB カメラ等で動かせるようにしていきます。
前提条件
前提条件は以下の通りです。
- Windows11 ( Windows11 のみでテストしています。
- Python3.9
- torch == 1.12.1+cu113
ファイル・フォルダの準備
前回使用した Real-ESRGAN フォルダで、以下のファイル・フォルダのみを残して、他は削除してください。
- realesrgan
- weights
- inference_realesrgan.py
他は削除してください。
画像の準備
以下の画像を使用します。

こちらを input.png として保存してください。
プログラム作成
inference_realesrgan.py を以下のようにしてください。
import argparse
import cv2
import glob
import os
import time
from basicsr.archs.rrdbnet_arch import RRDBNet

from realesrgan import RealESRGANer
#from realesrgan.archs.srvgg_arch import SRVGGNetCompact


#GAN
class esrgan():
    def __init__(self, scale):
        """Inference demo for Real-ESRGAN.
        """
        # ==================== setting argument ====================== #
        parser = argparse.ArgumentParser()
        parser.add_argument('-s', '--outscale', type=float, default=scale, help='The final upsampling scale of the image')
        parser.add_argument('--suffix', type=str, default='out', help='Suffix of the restored image')
        parser.add_argument('-t', '--tile', type=int, default=0, help='Tile size, 0 for no tile during testing')
        parser.add_argument('--tile_pad', type=int, default=10, help='Tile padding')
        parser.add_argument('--pre_pad', type=int, default=0, help='Pre padding size at each border')
        parser.add_argument('--face_enhance', action='store_true', help='Use GFPGAN to enhance face')
        parser.add_argument('--half', action='store_true', help='Use half precision during inference')
        parser.add_argument(
            '--alpha_upsampler',
            type=str,
            default='realesrgan',
            help='The upsampler for the alpha channels. Options: realesrgan | bicubic')
        parser.add_argument(
            '--ext',
            type=str,
            default='auto',
            help='Image extension. Options: auto | jpg | png, auto means using the same extension as inputs')
        args = parser.parse_args()

        # =========================== setting model ====================== #
        model = RRDBNet(num_in_ch=3, num_out_ch=3, num_feat=64, num_block=23, num_grow_ch=32, scale=4)
        netscale = 4

        # determine model paths
        model_path = os.path.join('./weights/', "RealESRGAN_x4plus" + '.pth')
        # ================================ setting GAN ================================ #
        # restorer
        upsampler = RealESRGANer(
            scale=netscale,
            model_path=model_path,
            model=model,
            tile=args.tile,
            tile_pad=args.tile_pad,
            pre_pad=args.pre_pad,
            half=args.half
        )
        # ================================ init parameters =========================== #
        self.args = args
        self.upsampler = upsampler

    # action gan for webcam
    def gan_webcam(self, img_cv2):
            img = img_cv2
            try:
                output, _ = self.upsampler.enhance(img, outscale=self.args.outscale)
                return output, True
            except RuntimeError as error:
                print('Error', error)
                print('If you encounter CUDA out of memory, try to set --tile with a smaller number.')
                return img, False


if __name__ == '__main__':
    # init
    GAN = esrgan(4)
    start = time.time()

    # read cv2_image
    img = cv2.imread("./input.png")

    # gan
    output, ret = GAN.gan_webcam(img)

    # ret = True is successs
    if ret:
        print(time.time() - start)
        cv2.imshow("test", output)
        cv2.imwrite("output.png", output)
        cv2.waitKey(0)
        cv2.destroyAllWindows()
上記を実行すると、超解像された画像が output.png として保存されます。
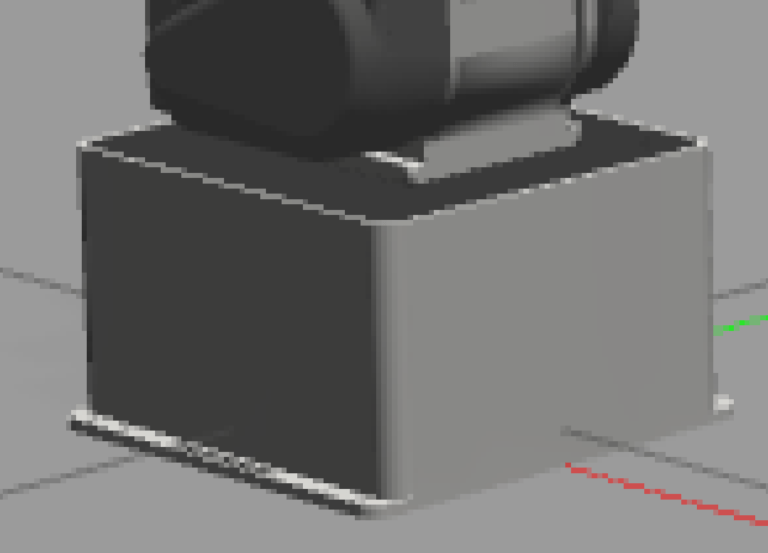
比較しやすいように、拡大した画像を並べます。まずは元画像

次に、超解像した画像です。
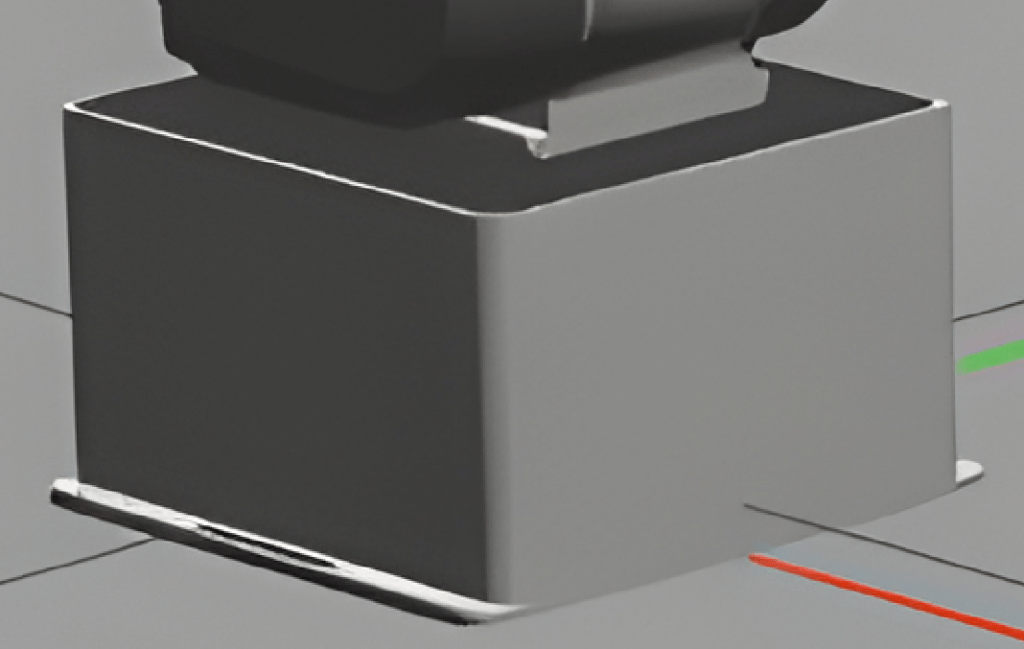
非常に鮮明になりました。
プログラム説明
プログラムの説明をしていきます。
メイン関数
if __name__ == '__main__':
    # init
    GAN = esrgan(4)

    # read cv2_image
    img = cv2.imread("./input.png")

    # gan
    output, ret = GAN.single_gan(img)

    # ret = True is success
    if ret:
        cv2.imshow("test", output)
        cv2.imwrite("./output.png", output)
        cv2.waitKey(0)
        cv2.destroyAllWindows()
esrgan(4) でオブジェクトを作成します。4 は、倍率を指定します。
GAN.single_gan(img) で img に対して超解像を実行します。
esrgan __init__
parser の部分は飛ばします。
# =========================== setting model ====================== #
model = RRDBNet(num_in_ch=3, num_out_ch=3, num_feat=64, num_block=23, num_grow_ch=32, scale=4)
netscale = 4

# determine model paths
model_path = os.path.join('./weights/', "RealESRGAN_x4plus" + '.pth')
読込むモデルを指定します。
# ================================ setting GAN ================================ #
# restorer
upsampler = RealESRGANer(
    scale=netscale,
    model_path=model_path,
    model=model,
    tile=args.tile,
    tile_pad=args.tile_pad,
    pre_pad=args.pre_pad,
    half=args.half
)
# ================================ init parameters =========================== #
self.args = args
self.upsampler = upsampler
GANmodel に各種引数を渡すことでセットアップが完了します。
args を使用したくない場合は直接数値や真偽値を指定することも可能です。
esrgan single_gan
# action gan for webcam
def gan_webcam(self, img_cv2):
    img = img_cv2
    try:
        output, _ = self.upsampler.enhance(img, outscale=self.args.outscale)
        return output, True
    except RuntimeError as error:
        print('Error', error)
        print('If you encounter CUDA out of memory, try to set --tile with a smaller number.')
        return img, False
推論部分です。
self.upsampler.enhance に画像を渡すことで、超解像した画像が返ってきます。
おわりに
今回は超解像AI Real-ESRGAN をオブジェクト化して推論しました。
今回のプログラムを使用すれば、USBカメラでも超解像することが可能です。
少し処理に時間がかかるので、並列処理が必要になるかと思います。


コメント